
Apple acquired Next Software in 1997 bringing OpenStep into the Apple fold. OpenStep (and NeXTstep before it) was based on BSD Unix running on top of a heavily modified version of the Mach micro-kernel. OpenStep was used as the foundation of operating system development at Apple through the late 1990s up to the release of OS X v10.0 in March 2001.
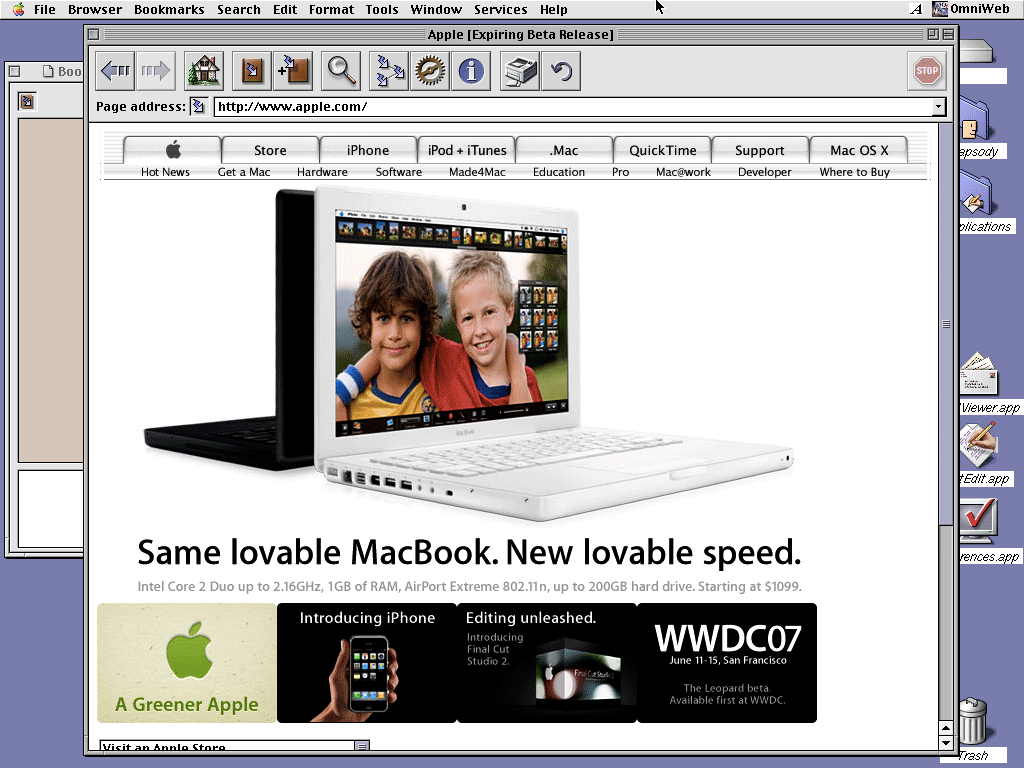
Rhapsody DR2 screenshot
In 1997 Apple released previews a new operating system that would be the next step in the evolution of MacOS. This new operating system was known as Rhapsody. Rhapsody was heavily based on OpenStep while providing a user interface experience based on the traditional MacOS Finder. With the Rhapsody release coming so soon after the public Copland demo CDs and abrupt cancellation of Copland it was difficult to see where Apple was heading at the time. But after the problems with MacOS v7.5 and v8 it was becoming clear to Mac developers that Apple needed a new operating system direction.
Both PowerPC and Intel x86 versions of Rhapsody were released in two developer previews – DR1 in early 1997 and DR2 in August 1997. Much of the work that went into Rhapsody was carried forward into OS X including Quicktime integration, early Carbon/Cocoa libraries, Interface Builder, and Java integration. At both user interface and developer levels, a clear lineage exists from NeXTstep through OpenStep to Rhapsody and on to OS X.
Digging through my old software collection I decided to get Rhapsody DR2 running in VMware on my [first generation Intel] MacBook. Instructions for getting Rhapsody DR2 working in VMware Fusion are provided after the jump.
Overview
My goal with this installation is to get a stable install of Rhapsody DR2 running in VMware. The resulting install of Rhapsody will allow use of at least a 1024×768 pixel display resolution in color and will allow Rhapsody to access the network via VMWare network sharing.
The install progresses in 6+1 stages:
- Set up VMware virtual machine.
- Boot Rhapsody from floppy and install minimal drivers.
- Format virtual drive and allow Rhapsody installer to perform install of base system.
- Intercede during reboot to manually install video, mouse, sound, and network drivers from OpenStep third party drivers.
- Reboot system to continue with Rhapsody applications installer.
- Configure Rhapsody.
- Optionally install demo Omni applications including OmniWeb.
Requirements
- Intel based Macintosh.
- VMware Fusion. (These steps will probably work well for VMware for Windows and Linux.)
- Rhapsody DR2 installation CD.
- OpenStep 4.2 drivers for VMware video (VMwareFB driver from AtomicObjects), mouse (VMMouse by Jens Heise), network (VMXNet by Jens Heise), and sound (SoundBlaster16PCI by Jens Heise).
- Small CD image to hold preceding OpenStep drivers (see instruction step 0).
- A couple of hours free.
Local copies of these drivers can be downloaded here:
- VMWareFB.config.compressed
- VMMouse-1.1.I.bs.tar.gz
- VMXNet-1.1.I.bs.tar.gz
- SoundBlaster16PCI-1.0.I.bs.tar.gz
Since I expected difficulties during this install I made a disc images of the installation floppies and Rhapsody CD and worked from these images. Using images rather than the physical floppies and CDs tend to have faster access times and are easier to manipulate which made it easier to work out the problems encountered during the install. I also created a small CD image to contain the OpenStep device drivers since this is the easiest way to get the drivers into Rhapsody. Creation of the CD image from the driver download links above is described in step 0.
Installation Steps
Step 0 – Assemble driver CD
Rhapsody DR2 does not include device drivers that will work with the video, network and sound components emulated by VMware. Additionally, the Rhapsody mouse driver has tracking problems in VMware. I used some drivers developed for OpenStep 4.2 to get video, networking, mouse, and sound working correctly in VMware.
Download the 4 drivers listed in the requirements into a working folder. For these instructions I used a working folder named drivers on the Desktop. Until the networking driver is installed the only way to get these drivers into Rhapsody is via a floppy disk or CD-ROM. To minimize the fiddling to be done in Rhapsody I uncompressed the drivers before copying them to the driver CD image.
Open a Terminal window and issue the following commands:
cd ~/Desktop/drivers

mv VMWareFB.config.compressed VMWareFB.tar.Z

uncompress VMWareFB.tar.Z

gunzip VMXNet-1.1.I.bs.tar.gz

gunzip VMMouse-1.1.I.bs.tar.gz

gunzip SoundBlaster16PCI-1.0.I.bs.tar.gz
These commands will leave you with 4 .tar files that we will unpack in Rhapsody. I used mkisofs to make a CD image containing these .tar files. mkisofs can be installed from the fink project or darwin ports. The command to create the CD image is:
cd ~/Desktop/drivers

mkisofs -o ../drivers.iso .
Step 1 – Set up virtual machine
Open VMware and create a new virtual machine. Set the operating system as “Other” with the version as “Other”. Click the Next button.
Set the name and location of the virtual machine to the name and location you want to use for the virtual machine. Click the Next button.
Select a size for your virtual disk. The largest sized disk that Rhapsody can access is 2GB. I created a disk with a maximum size of 2GB and found that the full install of Rhapsody occupies roughly 400MB. Click the Next button.
Uncheck the Start virtual machine and install operating system now checkbox. Click the Finish button.
When the virtual machine window appears click on the Settings button. In the CD/DVD settings point the virtual machine at the Rhapsody DR2 CD in the CDdrive or an image of the DR2 CD. Add a floppy drive to the virtual machine by clicking on the + button. Point the Floppy drive at the Rhapsody install Floppy disc or corresponding image file. Make sure both floppy and CD are “Connected”.
While in the virtual machine settings reduce the memory allocation. My first attempts using an allocation of 256MB ran into problems loading the Rhapsody drivers for the hard drive. Using an allocation of 128MB avoided this problem. Apply all settings changes.
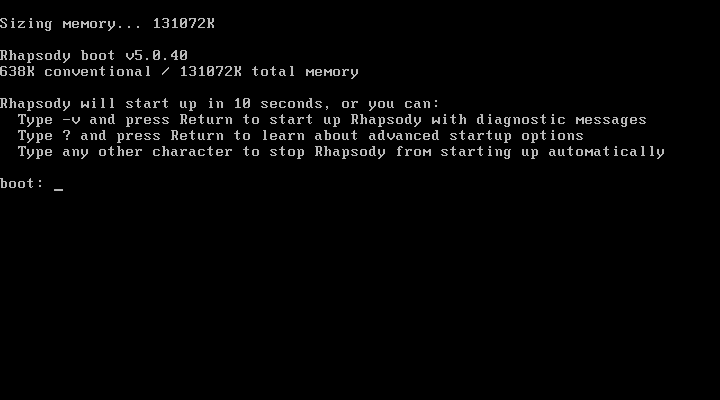
Boot loader
Step 2 – Boot Rhapsody and install minimal drivers
Start up the virtual machine. After the standard post tests the Rhapsody boot disk checks the system memory and loads the boot loader. After 10 seconds the boot loader will start the installer and prompt to select the install language and keyboard.
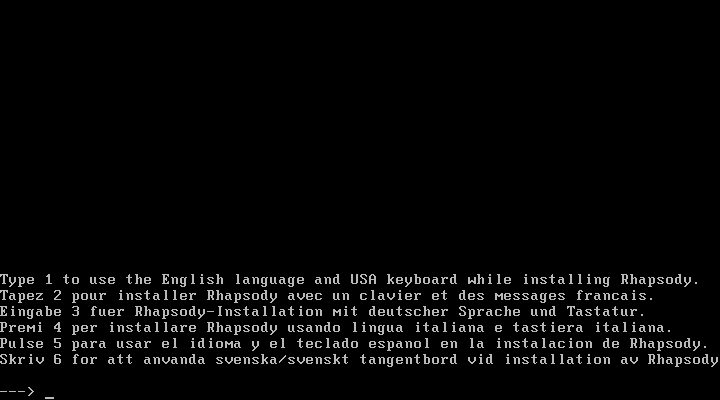
Language selection
Type 1 to select English and press Return.
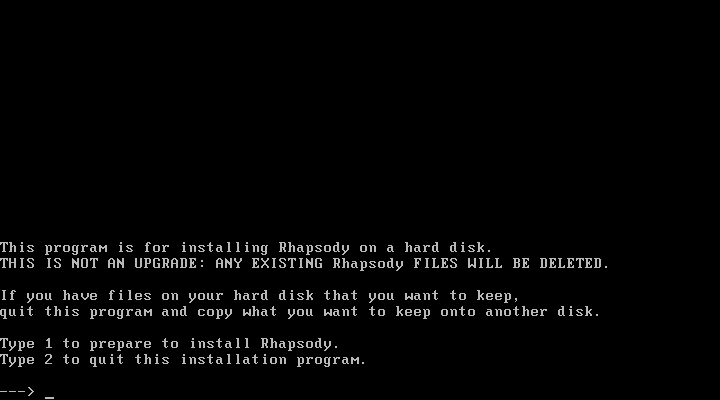
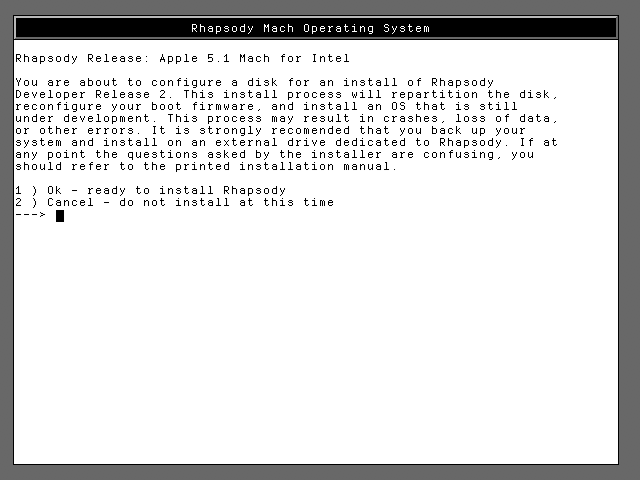
Install confirmation
When prompted, type 1 and press Return to prepare to install Rhapsody.
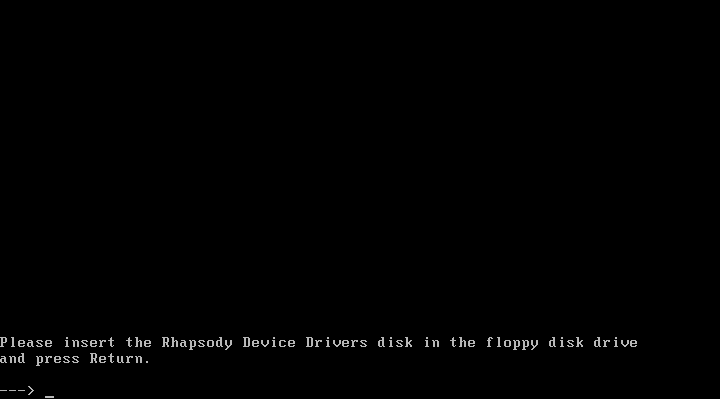
Insert driver disk
When prompted open the virtual machine settings and switch the floppy drive to point to the Rhapsody Device Drivers disk or disk image. Press Return after you have switched the disk.
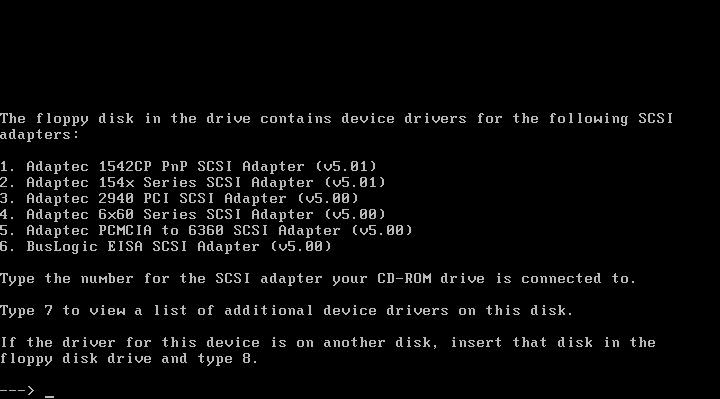
Select CDROM driver
When prompted to select the device driver for the SCSI adapter that the CD-ROM is connected to type 7 and press Return to scroll through the list of drivers until you find the “Primary/Secondary(Dual) EIDE/ATAPI Device Controller (v5.01)” driver. This required me to type 7 three times to scroll to the end of the drivers list.
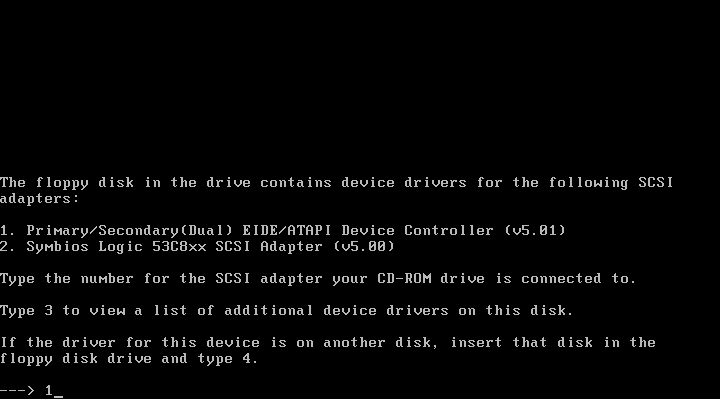
Primary/Secondary EIDE driver
Type 1 to select the “Primary/Secondary(Dual) EIDE/ATAPI” driver and press Return.
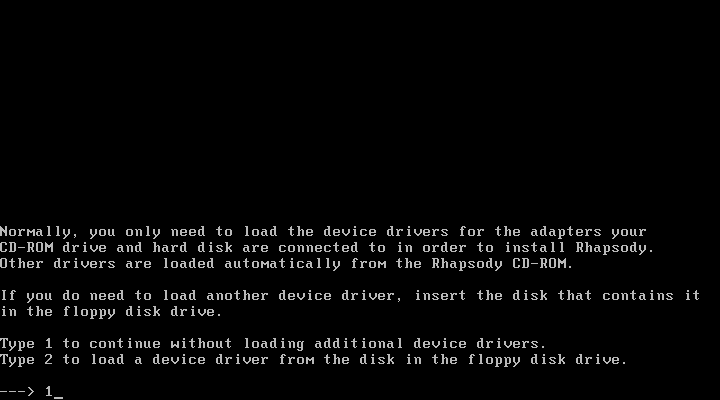
Continue without additional drivers
When prompted type 1 to continue without loading additional drivers.
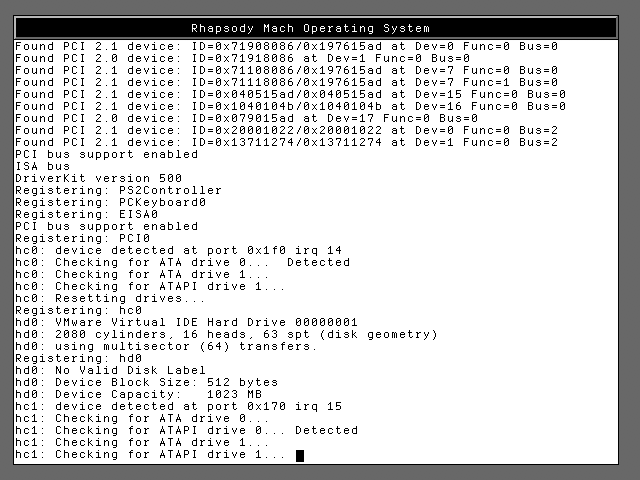
Hardware detection
Now that the basic drivers have been loaded Rhapsody will load the Mach kernel. The kernel will detect various aspects of the VMware emulated hardware.
Ready to install
Step 3 – Format drive and install basic system
After the kernel loads the Rhapsody installer will start and prompt for confirmation that the user is ready to install Rhapsody. Type 1 and press Return to start the basic install.
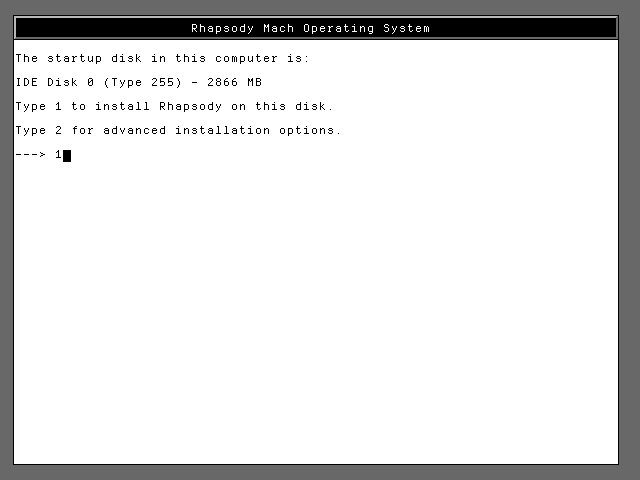
Select install drive
Type 1 and press Return to install Rhapsody onto the first virtual drive.
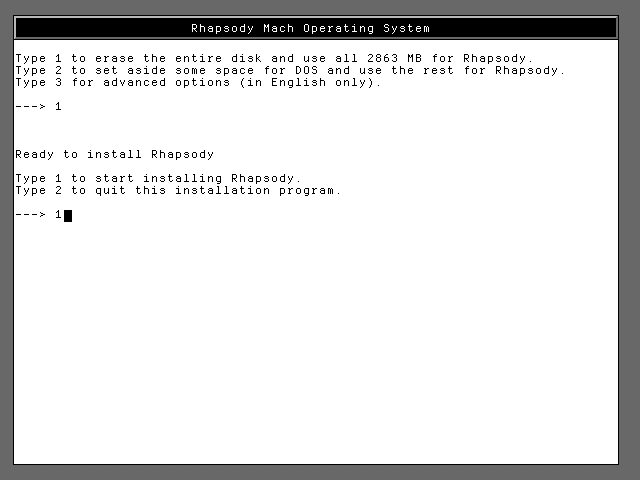
Partition drive and start install
Type 1 and press Return use all of the virtual drive for Rhapsody. When the installer is ready to start the install type 1 and press Return to continue.
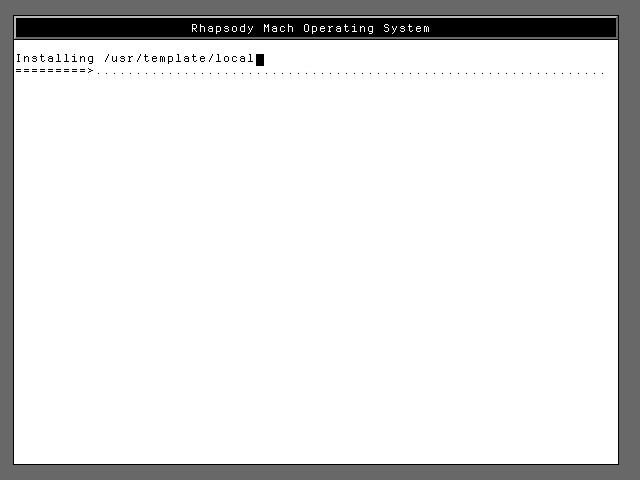
Installing
Wait for the basic system install to complete. On my 2.0GHz MacBook with 2GB of RAM the basic install took about 6 minutes.
Reboot virtual machine
Step 4 – Reboot and install additional drivers
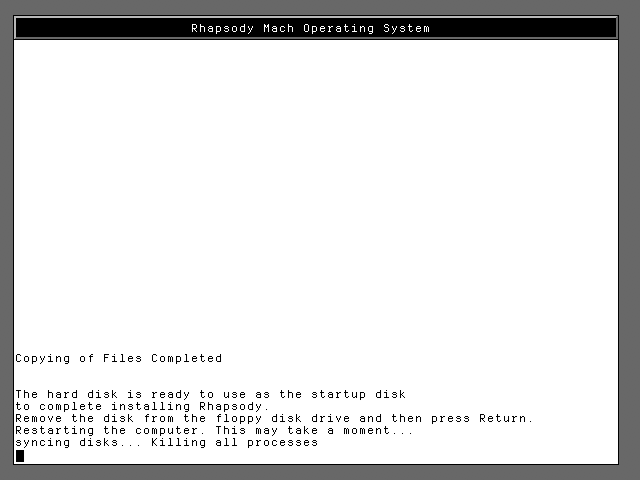
With the basic system install complete the installer prompts to reboot the system and load Rhapsody from the hard drive. To get a working installation it is necessary to intercept the reboot and use single user mode to manually install the additional third party drivers. After the manual driver installation the virtual machine can be rebooted again to allow the Rhapsody install to continue normally.
When the installer prompts you to remove the floppy disc and press Return. Keep the keyboard focus in the VMware window so that you can intercept the boot loader before it loads the kernel.

Boot to single user mode
When the boot loader prompts for boot options type in -s and press Return. You have only 10 seconds at the boot loader prompt to enter this option.
Rhapsody single user
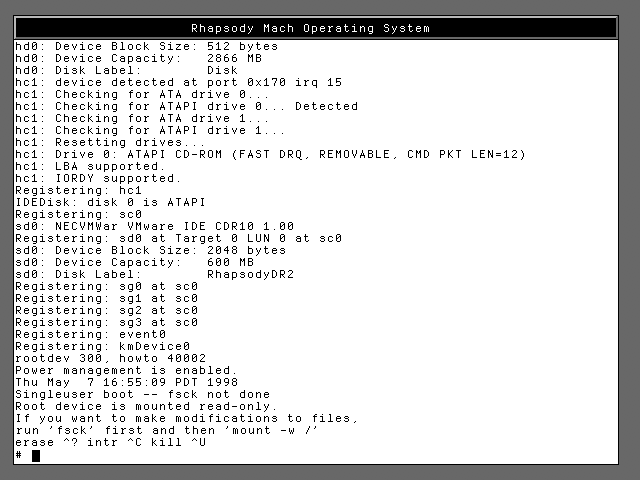
The boot loader will start the Rhapsody Mach kernel, register the detected basic hardware and drop into single user mode.
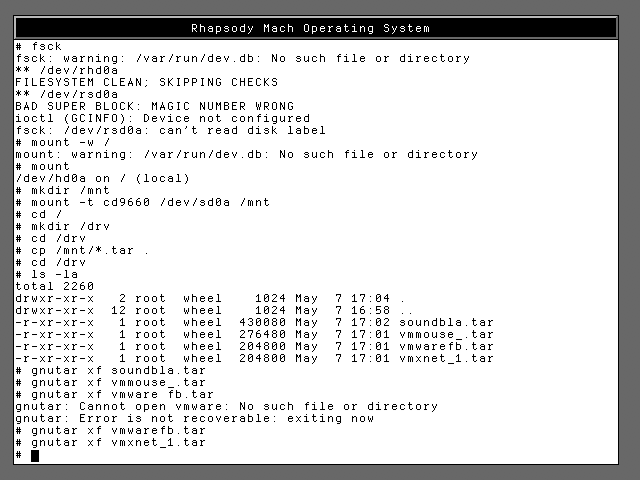
Manual driver install part 1
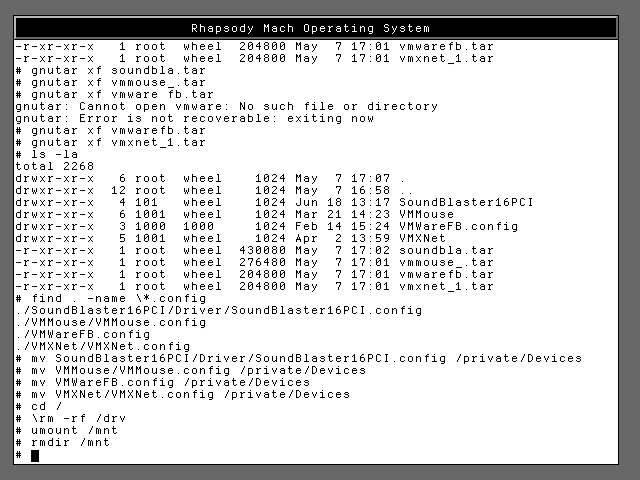
Manual driver install part 2
Manual driver install part 3
Open the virtual machine Settings window and attach the driver.iso CD image to the virtual machine.
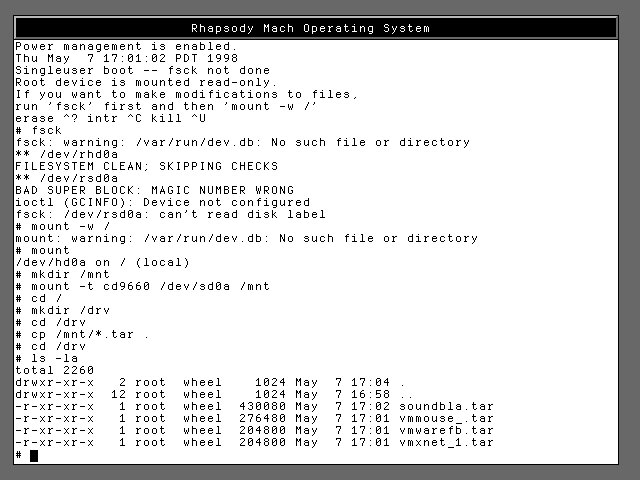
At the Rhapsody single user prompt enter the following commands:
fsck

mount -w /

mkdir /mnt

mount -t cd9660 /dev/sd0a /mnt

cd /

mkdir /drv

cd /drv

cp /mnt/*.tar

cd /drv

gnutar xf soundbla.tar

gnutar xf vmmouse_.tar

gnutar xf vmwarefb.tar

gnutar xf vmxnet_1.tar

find . -name *.config

mv SoundBlaster16PCI/Driver/SoundBlaster16PCI.config /private/Devices

mv VMMouse/VMMouse.config /private/Devices

mv VMWareFB.config /private/Devices

mv VMXNet/VMXNet.config /private/Devices

cd /

rm -rf /drv

umount /mnt

rmdir /mnt
The text instructions are easier to edit and should take priority over the screenshots. Note that any errors resulting from the mount command are likely to be related to VMware not having the image file connected properly. Try disconnecting the CD image and reconnect it before repeating the mount command and continuing with the commands.
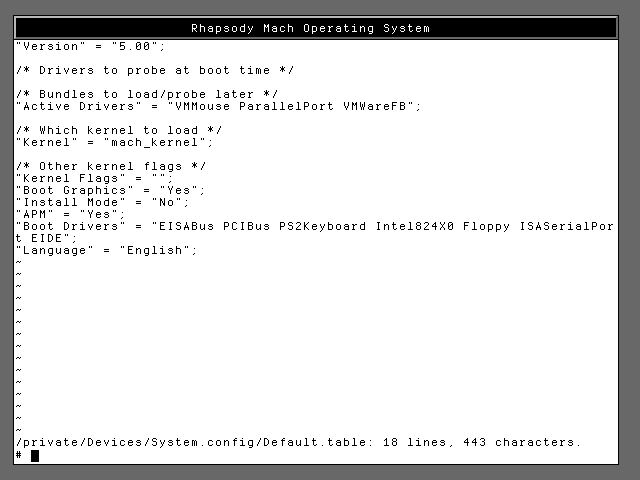
System.config/Default.table after edits
Edit the /private/Devices/System.config/Default.table file to set Rhapsody to load the VMMouse and VMWareFB drivers. Open the file using vi and edit the "Active Drivers" line to equal "VMMouse ParallelPort VMWareFB". If the terminal controller gets lost you can force a screen redraw using Control-L.
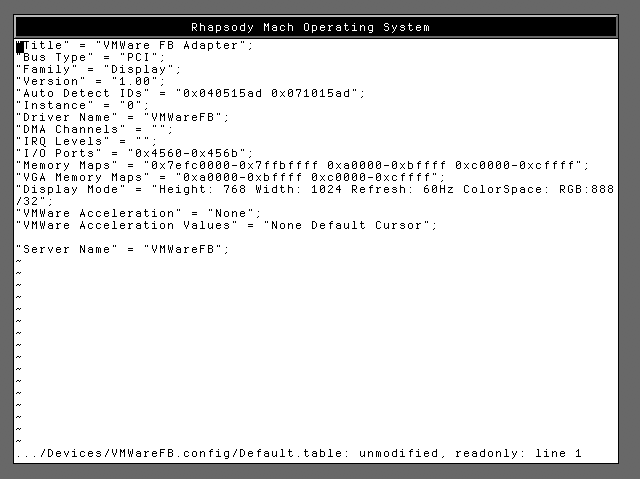
VMWareFB.config/Default.table after edits
Edit the /private/Devices/VMWareFB.config/Default.table file to set the desired screen resolution and color depth. Open the file using vi and edit the "Display Mode" line to set the screen resolution to 768 high, 1024 wide.
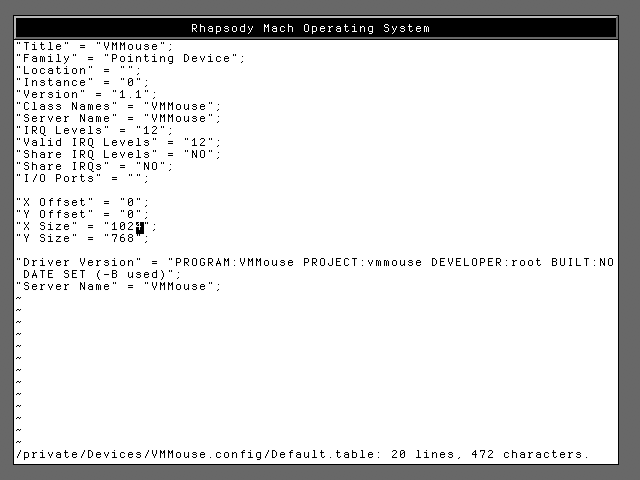
VMMouse.config/Default.table after edits
Edit the /private/Devices/VMMouse.config/Default.table file to set the "X Size" and "Y Size" of the screen to match the resolution selected in the VMWareFB configuration file. These settings control the scaling of the mouse operation. If the size is smaller than the actual resolution used then the mouse will be prevented from accessing the whole screen.
Rhapsody booting 1
Rhapsody booting 2
Step 5 – Reboot to configure drivers and continue the Rhapsody installer
Before rebooting, use the mount command to ensure that the driver CD image is no longer mounted. Disconnect the driver CD image and reconnect the Rhapsody DR2 CD to the virtual machine.
To reboot Rhapsody enter the reboot command. Allow the boot loader to continue without adding any boot options.
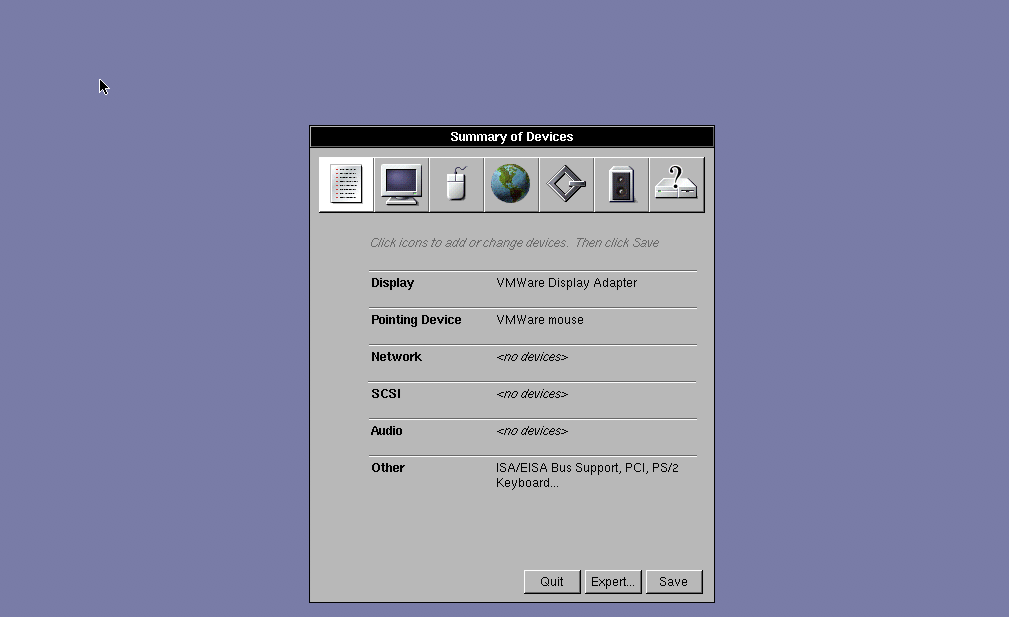
OpenStep driver config tool
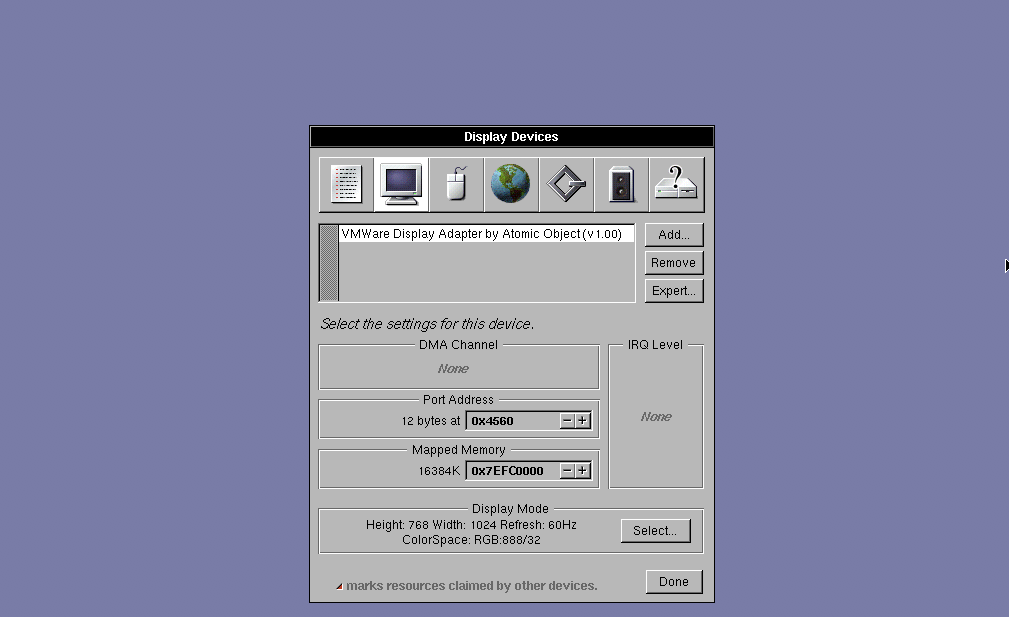
Display adapter settings
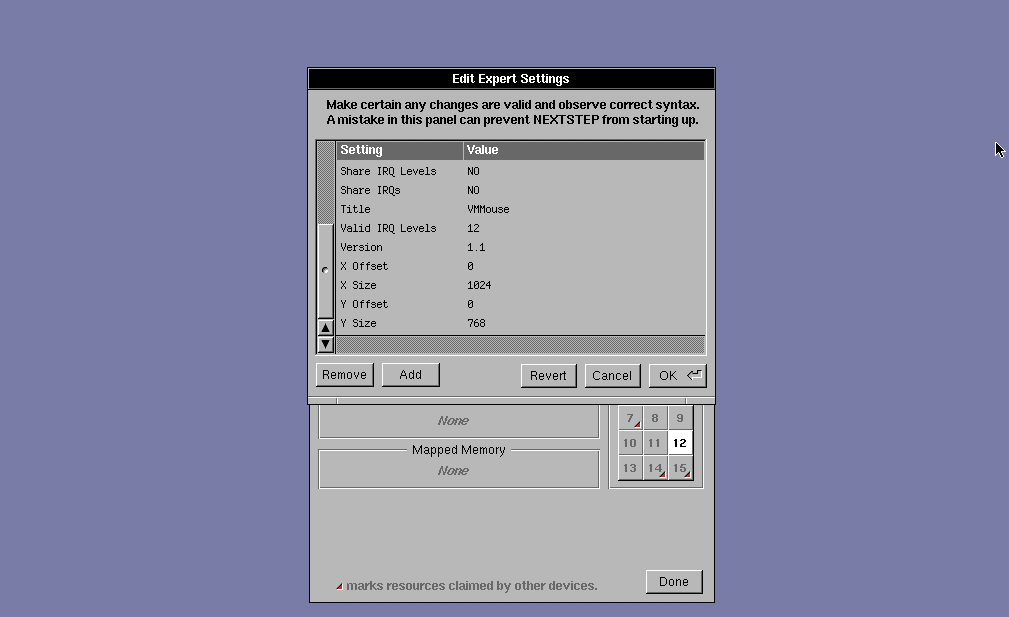
Mouse settings
During the first full boot, Rhapsody drops into the OpenStep device driver configuration tool. Notice that the VMWare Display Adapter and VMWare mouse driver installed manually have been loaded. Check that the display adapter has the correct display mode set. Check that the mouse driver has the X size and Y size in the expert settings set to match the display display mode resolution.
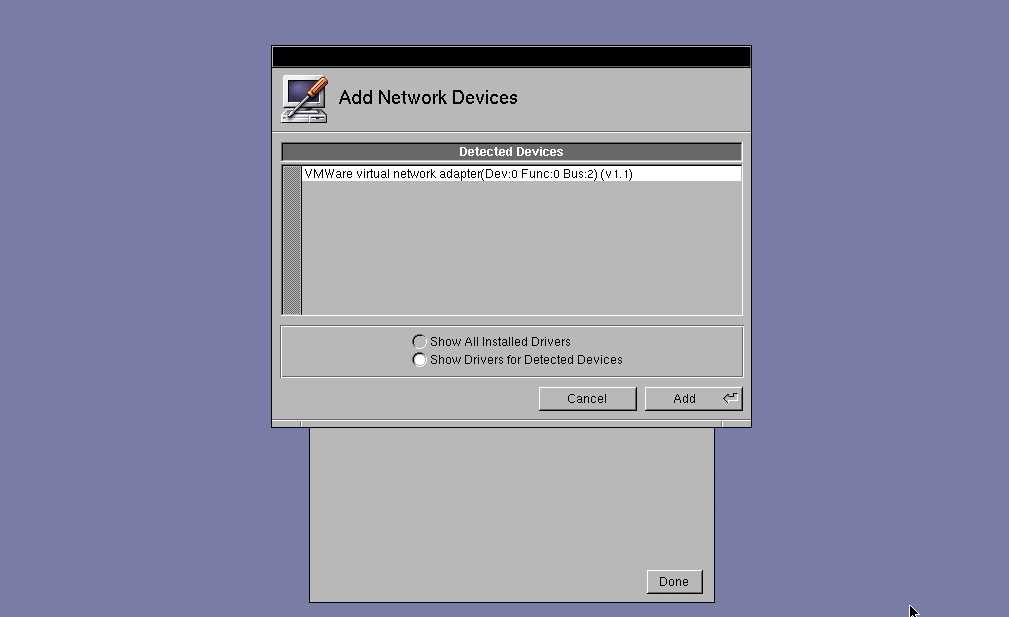
Install network driver
Install the network driver by clicking on the network icon (the globe) and click on the “Add” button to install the VMWare virtual network adapter.

Install sound driver
Install the sound driver in the same way.

Save driver settings
Verify the drivers are loaded then save the driver settings. It is possible to change these settings within Rhapsody but getting the display mouse and networking setup working now will ensure the remainder of the install goes smoothly. To continue the install click the “Quit” button in the driver configuration tool.
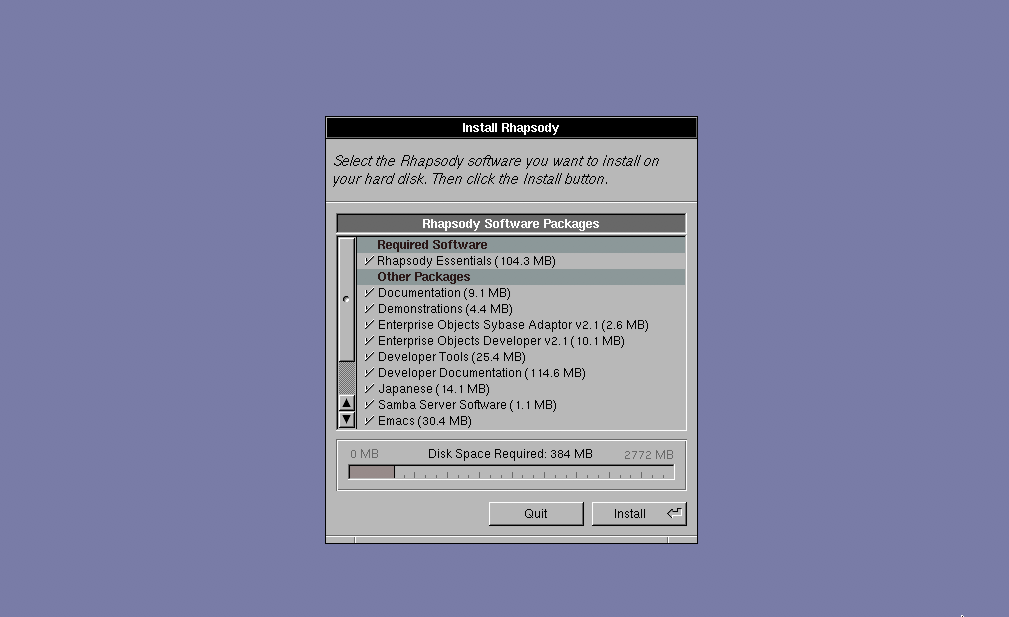
Select Rhapsody software packages
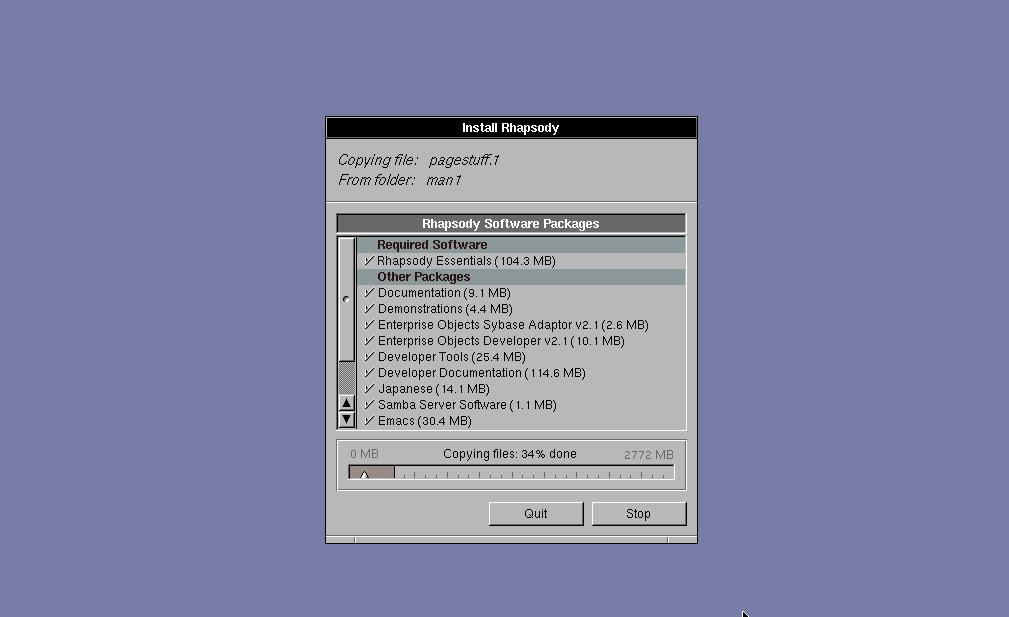
Package installation
Select the software packages to install into Rhapsody. The safest option is to install all packages. Click on the “Install” button.
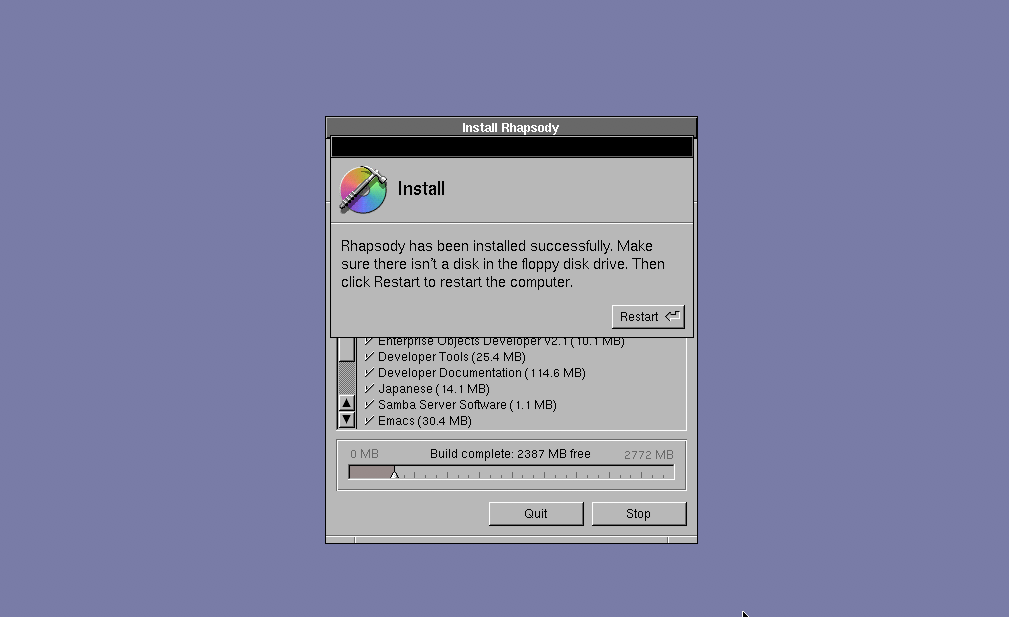
Install finished
Eject any floppy disks and click on the “Restart” button.
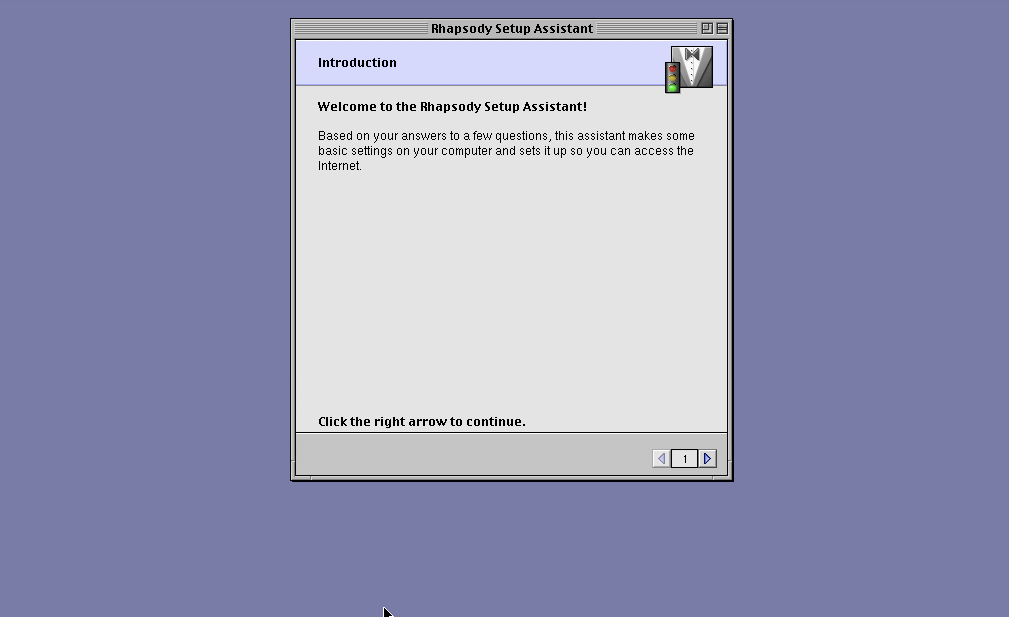
Rhapsody Setup Assistant
Step 6 – Rhapsody Setup Assistant
Allow Rhapsody to boot to the Rhapsody Setup Assistant.
Step through the Setup Assistant. If you want to use OmniWeb set the system date to before Sept 1997.
Choose manual networking setup using the settings:
Host IP: 192.168.56.128
Broadcast: 255.255.0.0
Router: 192.168.56.2
DNS server: 192.168.56.2
Add user to the wheel group. This can also be done later in Rhapsody using the Network Manager application.
Note: The addresses the virtual network IPs for host, router, and DNS server are likely to be different because VMware randomly generates the third octet (“56”) during VMware installation.
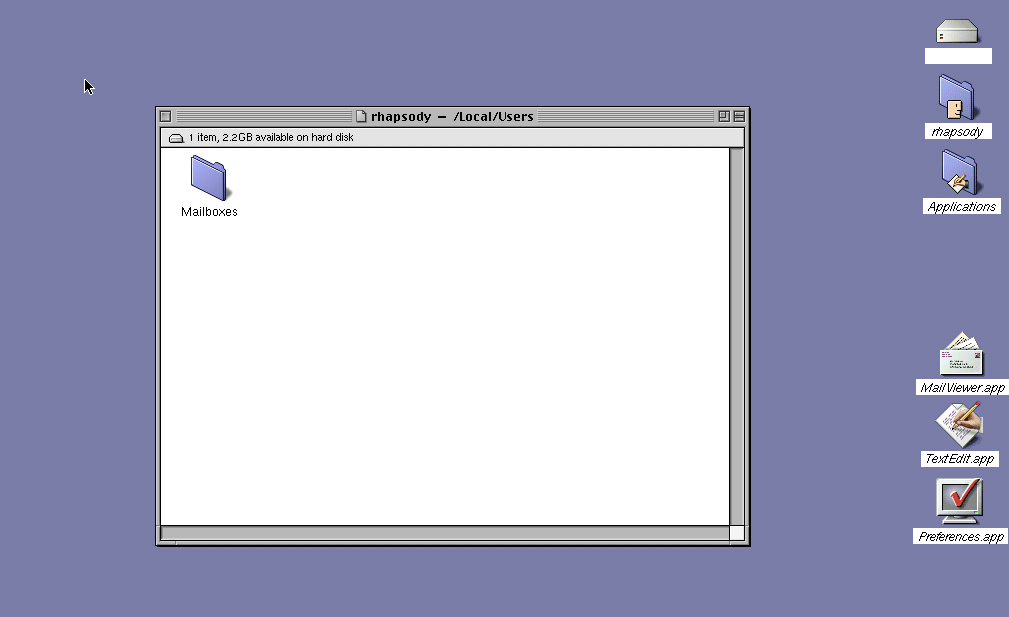
Welcome to Rhapsody
When the Setup Assistant is finished the Rhapsody install is complete.
Installing Omni applications
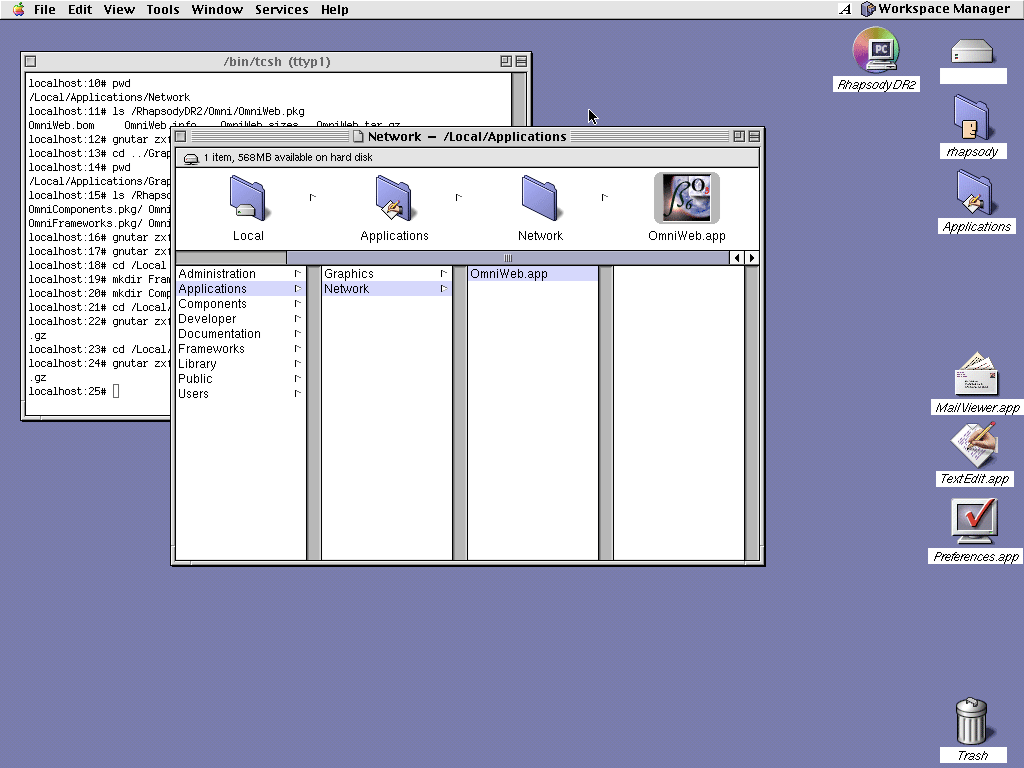
Applications in place
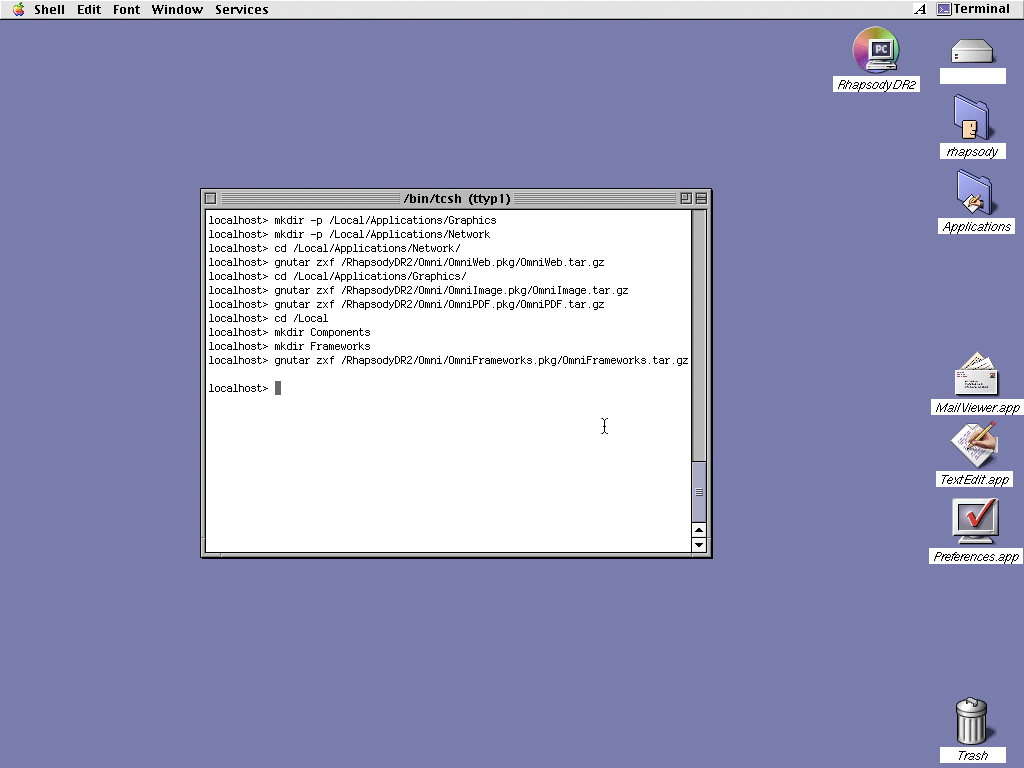
Step 7 (Optional) – Applications in place
With the Rhapsody CD connected to the virtual machine log in as root and unpack the Omni applications into the Local Applications folder.
I manually installed the Omni applications using the commands listed below. A commenter pointed out that the official install procedure is to use the installer.sh command to install each of the packages. The command for these installs follows the form: installer.sh /RhapsodyDR2/Omni/OmniWeb.pkg.
Manual Install Steps – For reference only.
As root open a terminal window and issue the following commands:
mkdir -p /Local/Applications/Network

cd /Local/Applications/Network

gnutar zxf /RhapsodyDR2/Omni/OmniWeb.pkg/OmniWeb.tar.gz

mkdir -p /Local/Applications/Graphics

cd /Local/Applications/Graphics

gnutar zxf /RhapsodyDR2/Omni/OmniImage.pkg/OmniImage.tar.gz

gnutar zxf /RhapsodyDR2/Omni/OmniPDF.pkg/OmniPDF.tar.gz

cd /Local/Library

mkdir Components

mkdir Frameworks

cd /Local/Library/Components

gnutar zxf /RhapsodyDR2/Omni/OmniComponents.pkg

cd /Local/Library/Frameworks

gnutar zxf /RhapsodyDR2/Omni/OmniFrameworks.pkg
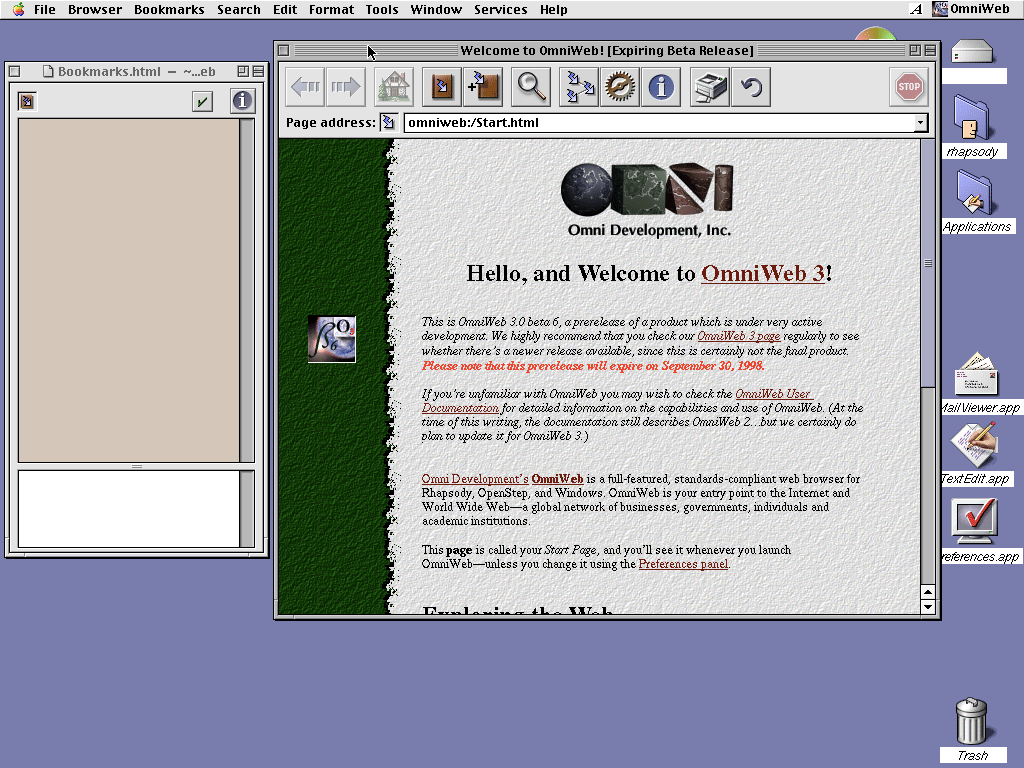
OmniWeb
Reboot to ensure that the newly installed Frameworks and Components are indexed and ready for use. Start OmniWeb and surf.
Be sure to browse your favourite sites to leave the OmniWeb/Rhapsody user-agent strings as outliers in their web-stats. 🙂
Nice one!
This is awesome!
Thanks for the help… I’d been trying to get this working.
I think I almost got it now… however… my network settings dont seem to be working. OmniWeb won’t load anything
I have the VMWare NAT netwroking enabled and I tried the same settings as yours but with no luck… should I be setting Rhapsody’s network settings to an IP matching my Mac running vmware.. or perhaps to an IP my router would give?
Thanks for the sweet giude!
Kevin,
The network settings depend on the type of networking you choose in the VMware network settings for this Virtual Machine. If you choose “Connect directly to the physicial network (bridged)” then you should treat Rhapsody as another computer on your network and either set Rhapsody to use DNS, or statically allocate an IP in the network range that your router uses.
If instead (as used in these instructions), you set up the VMware network settings as “Share the host’s internet connection (NAT)”, then this means that you will be using the network address translation built into VMware. In this case, you should use the 192.168.56.x addresses given in my instructions, noting in particular that the router address is “192.168.56.2” instead of the common “x.y.z.1” address for routers.
Ensure that you have the network connected in VMware. You can also try to debug the problem in Rhapsody by opening a Terminal and using the command “ping 255.255.255.255”. If the Rhapsody network has started correctly then the ping command should get a response from the VMware virtual router. Use the virtual router address as both the DNS and router addresses in Rhapsody and you should be able to access the net.
Thank you so much for the guide! I now have a fully functional install of Rhapsody. Unfortunately there are a couple minor errors in the instructions:
There’s a typo in step 4 on line 8 of the single user mode commands:
cp /mnt/*.drv .
This should be:
cp /mnt/*.tar .
Near the end of step 7 OmniWeb’s frameworks and components need to be installed in /Local/Library/ rather than just /Local/
Also, the the command to install OmniWeb’s components is missing – the command follows the same form as the frameworks installation.
One last issue I had was getting networking to function. The IP numbers provided didn’t work, so I copied the settings from a Windows VM that I was running:
IP address: 192.168.240.128
Subnet mask: 255.255.255.0
Router address: 192.168.240.2
Name server address: 192.168.240.2
Mike,
Thanks for catching those problems. I’ve corrected the instructions.
With regard to the network numbers it may be that VMware has been changing their network configuration for VMware Fusion. I picked up the numbers that I used from a working Windows VM. On my system, the network in my current Rhapsody VM is working fine so maybe the network settings need to be checked on a per system basis.
To properly install the Omni stuff, you can use the installer.sh command. ie:
$ installer.sh /RhapsodyDR2/Omni/OmniWeb.pkg
Note that OmniFrameworks and OmniComponents are required by all of the Omni apps.
For networking, if you’re using NAT, you can find out the router, DNS and subnet mask from “/Library/Application Support/VMWare Fusion/vmnet8/dhcpd.conf”
Thanks for the guide.
Hello! I really interested in finding rhapsody cds and floppies because i’d really like to work with it… Could you please send me the links to download them? Thank you very much bye!
there are “ready” torrent HD images whith all the installed stuff? It will be amazing to fly back to that piece of history!…
Hi Michael, thank you very much for your guide, is really awsome. The guide is really easy to follow and now I have a Rhapsody DR2 install working 100%. Video, Mouse, Audio, Network (Bridged), CDROM, Floppy(virtual), Omniweb, OmniView, OmniPDF everything working in my Latitude D620 (WinXPSP3) on VMware Workstation v 5.0.0.13124.
Just a minor modification:
In step 7 for Omniweb to work, I had to decompress the contents from [CDROM]/RhapsodyDR2/Omni/OmniFrameworks.pkg/OmniFrameworks.tar.gz to /Local/Library/Frameworks
and also decompress the contents from [CDROM]/RhapsodyDR2/Omni/OmniComponents.pkg/OmniComponents.tar.gz to /Local/Library/Components
That’s it, now i have a piece of history at my fingertips. Thanks!
LuKasT
Pingback: Beta Archive
Pingback: NeXT Computers
Pingback: Installing NextStep 3.3 on VMWare 6 – jonandnic dot com